Wednesday, January 25, 2012

how to...bottle ring - hogyan készül...üvegpalack gyűrű

so, this is it, i guess. i already showed you how to make the bottle bracelet, and belive me, making the ring isn't that much more complicated. well, it's the same material and you only need a little bit of it, but it's still recycling and still jewlery. and of course, it's fun to make.

tehát, itt a vége, gondolom. már megmutattam hogyan készíthetitek el az üvegpalack karkötőt, és higgyétek el, a gyűrű elkészítése sem sokkal komplikáltabb. nos, ugyanaz az anyag, és csak egy kicsi kell belőle, de ettől még mindig újrahasznosítás, és még mindig ékszer. és persze, szórakoztató.


just like with the bottle bracelet, you will need to measure your finger that you wish to make the ring for, then add 1cm to it in lenght. you decide how wide you want to make it.


Tuesday, January 24, 2012

how to...aluminium can ring - hogyan készül...alumínium doboz gyűrű

yes, well, if you have  poptabs, why not use the can as well? this is a really easy tutorial, but not the best. aluminium cans can cut you, it's hard to fold it perfectly, and you need something to glue and wrap it with at the same time. i didn't have the perfect supplies, so i improvised.

igen, nos, hamár vannak nyitók, akkor miért ne használhatnánk a dobozt is? ez egy nagyon egyszerű útmutató, de nem a legjobb. az alumínium dobozok megvághatnak, és nehéz pontosan hajtogatni őket, és szükség van valamire amivel leragasztod és körbetekered egyszerre. nem voltak meg a megfelelő eszközeim, ezért improvizáltam.


i cut a piece of aluminium out of a beercan, then cut the right size for my finger with the thought in mind that i will need to bend the sides in, so i need double the size.
kivágtam egy darab alumíniumot egy sörösdobozból, majd az ujjam méretére vágtam úgy hogy dupla akkora legyen hiszen be kell majd hajtani az oldalakat.
i folded the sides in(like in the wrapper bracelet) .
behajtottam az oldalakat(mint ahogy a csomagoló karkötőnél).
i used leukoplast to glue down the egdes.
leukoplastot használtam a szélek leragasztásához.
then to glue the ring shape.
majd hogy gyűrűformába ragasszam.


now to paint it, and decorate it.
már csak festeni és dekorálni kell.

Monday, January 23, 2012

how to...poptab bracelet - hogyan készül...nyitó karkötő

so once you know how to make a poptab pendant, it's easy to make a poptab bracelet. of course you have a few possibilities of bracelets when it comes to poptabs. the  easiest is to simply slide about 5 or 6 poptabs on a ribbon and tada. however, if you want a real looker then i will show you how to make a big bracelet of 20 or more poptabs.


tehát, ha már tudod hogy is készül a nyitó medál, a karkötő is egyszerű. természetesen van pár lehetőség különféle karkötők elkészítéséhez ha nyitókról van szó. a legegyszerűbb ha csak felcsúsztatsz kb 5 vagy 6 nyitót egy szallagra és kész is. de ha egy igazán klasszat akarsz akkor megmutatom hogyan készül a nagy karkötő 20 nyitóból vagy többől.


i folded the cord in half and thread it through the tab with the tab's nice side facing up.
félbehajtottam a zsineget és befűztem a nyitóba, úgy hogy a nyitó szép oldala nézett fel.
 
now for the tricky part. i placed the second tab ugly side up under the first tab, but on the cord, then thread the cords ends through the holes of the second and first tab. the trick is simple, you just have to use the tabs that are under as deviders for the tabs on the top.
és itt a trükkös rész. a második nyitót csúnya oldallal felfelé az első nyitó alá és a zsinegre helyeztem, majd a zsineg végeket átvezettem a második és az első nyitó lyukain. a trükk egyszerű, az alsó nyitók a felső nyitók felezőiűl szolgálnak.
i placed the 3rd tab next to the first and on the second, then thread the cord ends through the 3rd and the second tabs holes in an x. you get the x by threading the cord at the top through the bottom holes and the cord at the bottom thtough the top holes.
a harmadik nyitót az első mellé a második nyitóra helyeztem, majd átvezettem a zsinegvégeket x formában a harmadik és a második nyitó lyukain. az x formát úgy kapod meg hogy a felső zsineget az alsó lyukakon, az alsó zsineget a felső lyukakon vezeted át.
the 4th tab goes just like the second one, and you will have to repeat the same  process like before.
a negyedik nyitó ugyazaz az eset mint a második, és innentől csak ismételni kell a lépéseket.
when i got the right size for my wrist, the last tab was one that faced ugly side up, so that i can bond it with the first tab.
mikor megkaptam a csuklómra felférő méretet, az utolsó nyitó amit felfűztem egy alsó nyitó volt a csúnya oldalával felfelé, hogy összefűzhessem az első nyitóval.
all that was left was to make a double knot on the inside. in this form it's easy to flaten the bracelet. just a little tight pull and it's done.
már csak egy duplacsomót kellet kötnöm a belsejében. ebben a formában könnyű kilapítani a karkötőt. csak egy kis szoros meghúzás és kész is.

Sunday, January 22, 2012

how to...pop tab pendant - hogyan készül...nyitó medál

aluminium pop cans, like beer and soft drinks have these pop tabs, and you can make pretty things from them. i saw different pendants, bracelets and even purses made from them. well, i had to make my own things from them too. by the way, i don't drink beer or wine or anyting like the stuff i was telling you about, so all the materials i used are from family members and friends. lucky for me, i have friends at a caffe. 
in this tutorial i will show you how you can connect the pop tabs to make a flower like pendant.

az alumínium nyitós dobozok, mint a sör és az üditőitaloknál nyitókkal rendelkeznek, és ezekből szép dolgokat lehet készíteni. több különböző medált, karkötőt és még pénztárcát is láttam amik belőlük készültek. nos, nekem is el kellett készítenem a saját dolgaimat belőlük. mellesleg, én nem iszom sört vagy bort vagy olyasmit amiről már beszéltem, tehát minden alapanyag amit használtam családtagoktól és barátoktól származik. szerencsémre vannak barátaim egy kávézóban is.
ebben az útmutatóban bemutatom hogyan lehet a nyitókat összefűzni, hogy egy virág szerű medált kapjunk.


there are all kinds of poptabs in different color or shape.
sokféle nyitó van különböző színben és formában.
i used 6 poptabs and a piece of cord.
6 nyitót és egy kis zsineget használtam.


Saturday, January 21, 2012

how to...wine bottle cork pendant - hogyan készül...boros dugó medál

yeah, i know, i really am messed up for good, i use almost everything now. but i had a really romantical moment when i came up with this. 

igen tudom, már tényleg elszaladt velem a ló, lassan mindent felhasználok. de egy igazán romantikus pillanatban találtam ki ezt.

i found some really nice rubber corks.
találtam pár nagyon szép gumi dugót.

i punched a holder in a cork. (i had some holders from some old straps, the ones that have figures on them) you can also use wire, just bend a loop, and glue the other end in the cork.
beleszúrtam egy tartót egy dugóba. (volt pár tartóm régi mobildíszekből, azokból amiken figurák vannak) de drótot is használhatsz, csak hajlíts egy hurkot, majd a másik véget ragaszd bele a dugóba.
i decopaged this one with a servitte. but you can also glue on fabric or simply paint it.
ezt egy szalvétával dekopázsoltam. de felragaszthatsz anyagot vagy be is festheted.
tada!


Friday, January 20, 2012

how to...spool pendant - hogyan készül...tekercs medál

you know that thread and wire can be bought on spools, right? so after you used up all your thread what do you do with the empty spool? throw it in the trash, usually, right? now here is my idea on what to do with them:

tudjátok hogy cérnát és drótot tekercseken vesszük. tehát mit csinálunk az üres tekercsel miután felhasználtuk az összes cérnát? általában kidobjuk a szemétbe, ugye? nos itt van az én ötletem arról mit is lehet csinálni velük:

i took some spools that were empty.
fogtam pár tekercset ami üres volt.

i cut some yarn to wrap the spool around with it. some glue is needed at the begining and the end.
vágtam némi fonalat, hogy azzal körbetekerjem a tekercset. az elején és a végén kell egy kis ragasztó.

then to decorate it i used a piece of ribbon and knot a bow on. then i took some wire(the thick one) and bend one end into a loop, thred the spool through and bend a circle at the bottom.
majd hogy kidíszítsem egy kis darab szallaggal kötöttem egy masnit rá. majd fogtam némi drótot(a vastag félét) és az egyik végéből csináltam egy hurkot, átvezettem a drót másik végét a tekercsen, és lezártam úgy hogy karikát hajlítottam belőle.

now, you can also glue on fabric if you like, of paint it, or whatever.
namost, anyagot is felragaszthatsz rá, vagy lefestheted vagy akármi.

Thursday, January 19, 2012

how to...bottle cap pendant - hogyan készül...kupak medál

so bottle caps, that are on bottled beer, or soft drinks can be used too. i have to tell you, i wasn't too sure at this at first, but now i love the idea. i will show you 2 ways you can use bottle caps to recycle them as jewlery, first the really easy pendant and then a pendat idea that you can make into earrings.

tehát kupakok, amik az üveges sör vagy üditő italokon vannak, szintén hasznosíthatók. meg kell mondjam, eleinte nem voltam biztos ebben, de most már imádom az ötletet. 2 módszert mutatok be, hogy hogyan lehet újrahasznosítani ékszernek a kupakokat, először egy nagyon könnyű medált és egy medál ötletet amiből fülbevalót is lehet készíteni.


so, i took a bottle cap.
tehát fogtam egy kupakot.


i removed the inner plastic. it doesn't have to be perfect. some can stay, cos you will cover it up anyway.
eltávolítottam a belső műanyag borítást. nem kell tökéletes legyen. maradhat egy kevés, mert úgy is le lessz fedve.

i used my tool to flaten the sidepart outwards. only the half of it tho. if you don't have this tool, you can use a hammer too.
fogóval kilapítottam az oldalsó részt kifele. de csak félrészt. ha nincs ilyen szerszámod, kalapácsot is használhatsz.


i measured the inner part, made a circle out of paper and chose something to put in it. i used a tissue paper cartoon holder as the main piece. this way, it's really 100 percent recycled.
lemértem a belső részt, papírból készítettem egy kört és választottam valamit amit beleteszek. egy papírzsebkendő tartó kartondobozt használtam a fő részhez. így 100 százalékban újrahasznosított.

i put some glue in the bottle cap, and pressed the carton down. now to wait till the glue dries.
a kupakba ragasztót tettem, és lenyomtam a kartont. most megvárjuk hogy megszáradjon a ragasztó.

i also added some glitter in it.
egy kis glittert is ragtam rá.

now, you will need something to make it durable. i used glaze, wich i recomend. i also tried nail polish, but the drying process did not go so well. i have to tell you, the hardest part at this is the drying, you can't be sure when it's ready. i got the best affect when i used a thin layer of nail polish, let it dry, and then used glaze.
most, kelleni fog valami amitől tartós lesz. lakkot használtam, és ez is ajánlom. kipróbáltam a körömlakkot is, de a száradási folyamat nem ment túl jól. meg kell mondjam, a legnehezebb ebben az egészben a száradás, soha nem tudhatod hogy jó-e már. akkor kaptam a legjobb eredményt mikor felvittem egy vékony réteg körömlakkot, hagytam megszáradni, majd felvittem a lakkot.

all that's left is to make it into a pendant. so i made a hook from findings(wire), but you can also make a loop of ribbon if you want, or you can attach a little magnet, and make a snap pendant(you will need a washer on some cloth or hemp). i glued the hook on the back and glued a circle of felt on it.
ami hátra van az hogy medált csináljunk belőle. tehát szerelékből(drót) készítettem egy akasztót, de szallagból is lehet, vagy ha akarjátok egy kis mágnest is felrakhattok hogy snap medál legyen(kell majd egy washer valami anyagféleségre). felragasztottam az akasztót és lefedtem egy kis filc körrel.


now, the other thing you can do is this: first you have to remove all of the plastic this time. you can try to heat it up with a hairdryer first and then remove it with a blade.
most  a másik dolog amit csinálhatsz ez: először is itt el kell távolítani az egész műanyagot. megpróbálhatod felmelegíteni egy hajszárítóval majd eltávolítani egy pengével.
here you can use a tool first to flaten the sides, but eventually you will need to hammer it down as flat as possible. then punch a hole in it. i used a nail and hammer.
itt először használhatsz célszerszámot a szélek kihúzására, de végül szükség lesz egy kalapácsra hogy olyan lapos legyen amilyen csak lehet. majd véss bele egy lyukat. én egy szöget és kalapácsot használtam.
now to color it. i first used a base paint.
most jöhet a szinezés. először egy alapfestéket vittem fel.
then painted it with acrilic paint.
majd kifestettem akril festékkel.
and then i cut a piece of wire and thread the caps on. then bend the wire back.
majd vágtam egy szál drótot és felfűztem a kupakokat. majd behajlítottam a drótvégeket.

Wednesday, January 18, 2012

how to...magazine neclace - hogyan készül...magazin nyaklánc

now, it's not only beads you can make from magazines, but component beads for a modern neclace too. there are 2 aproaches how you can make them. i will show you both.

nos, nem csak gyöngyöket lehet magazinokból készíteni, de gyöngy komponenseket is egy modern nyaklánchoz. két féle képpen lehet elkészíteni őket. mindkettőt bemutatom.


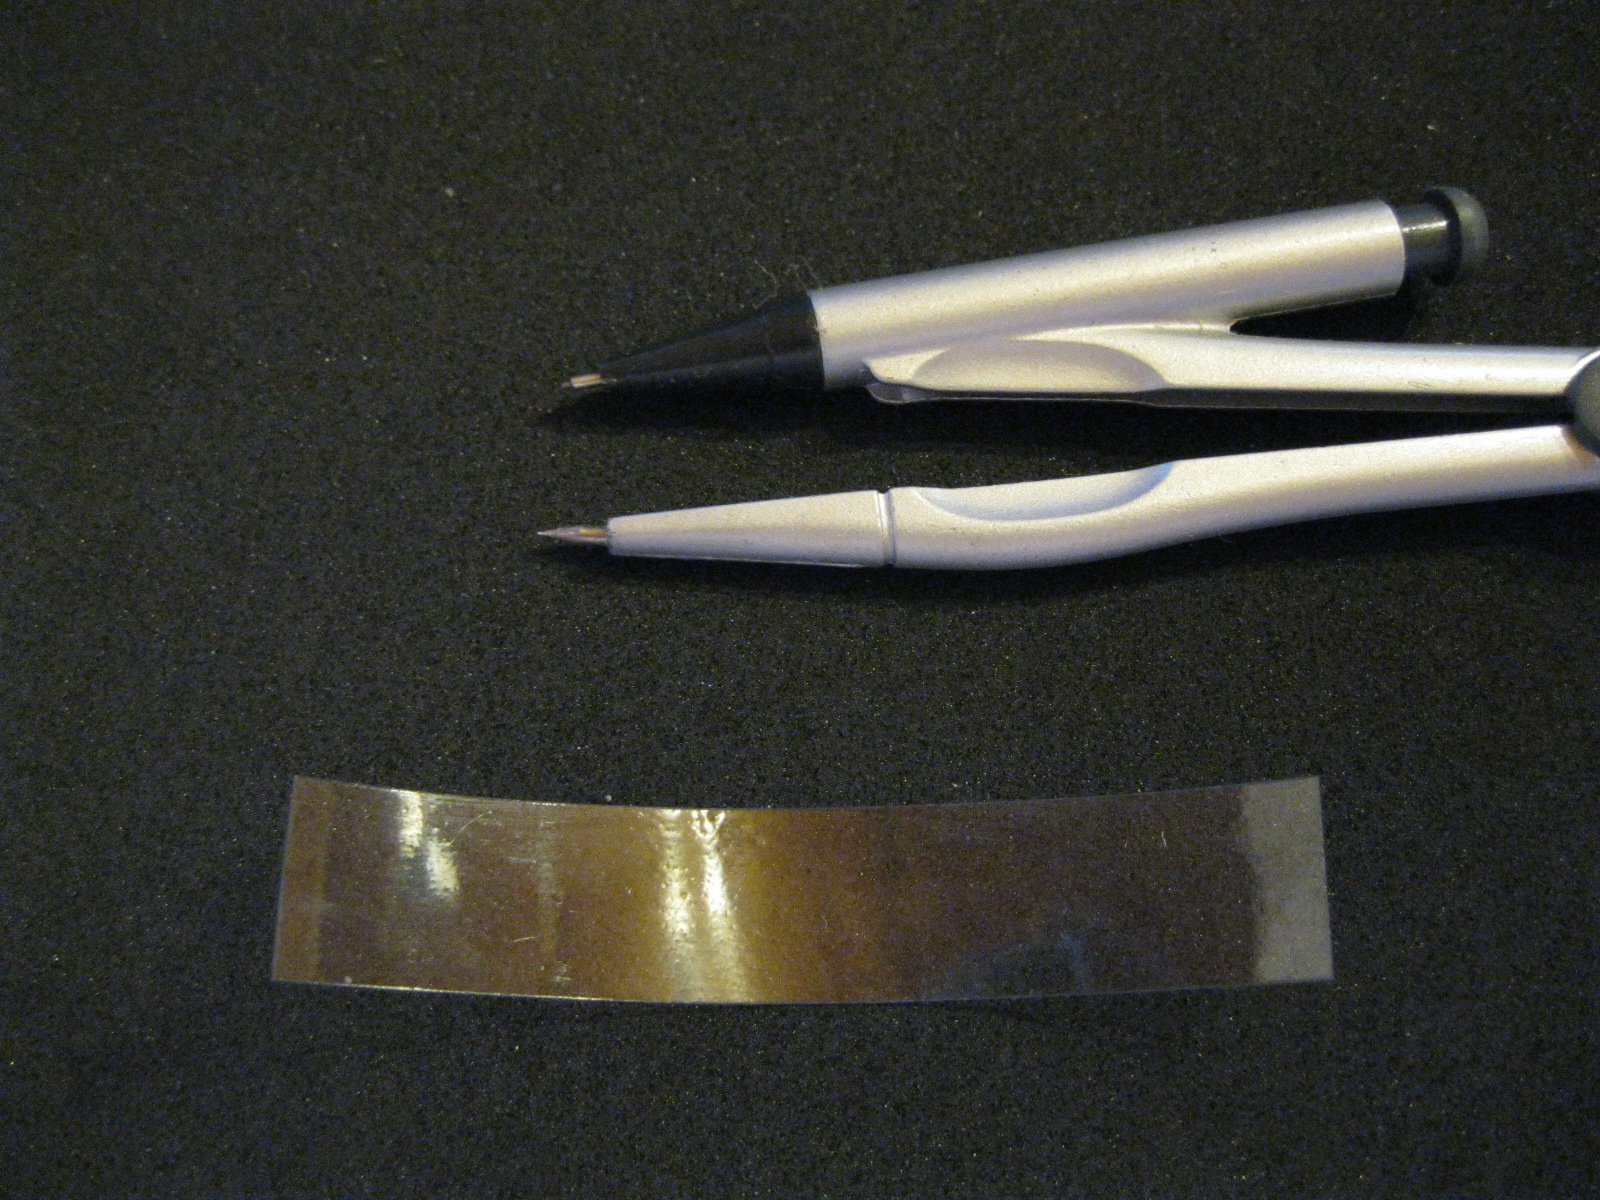
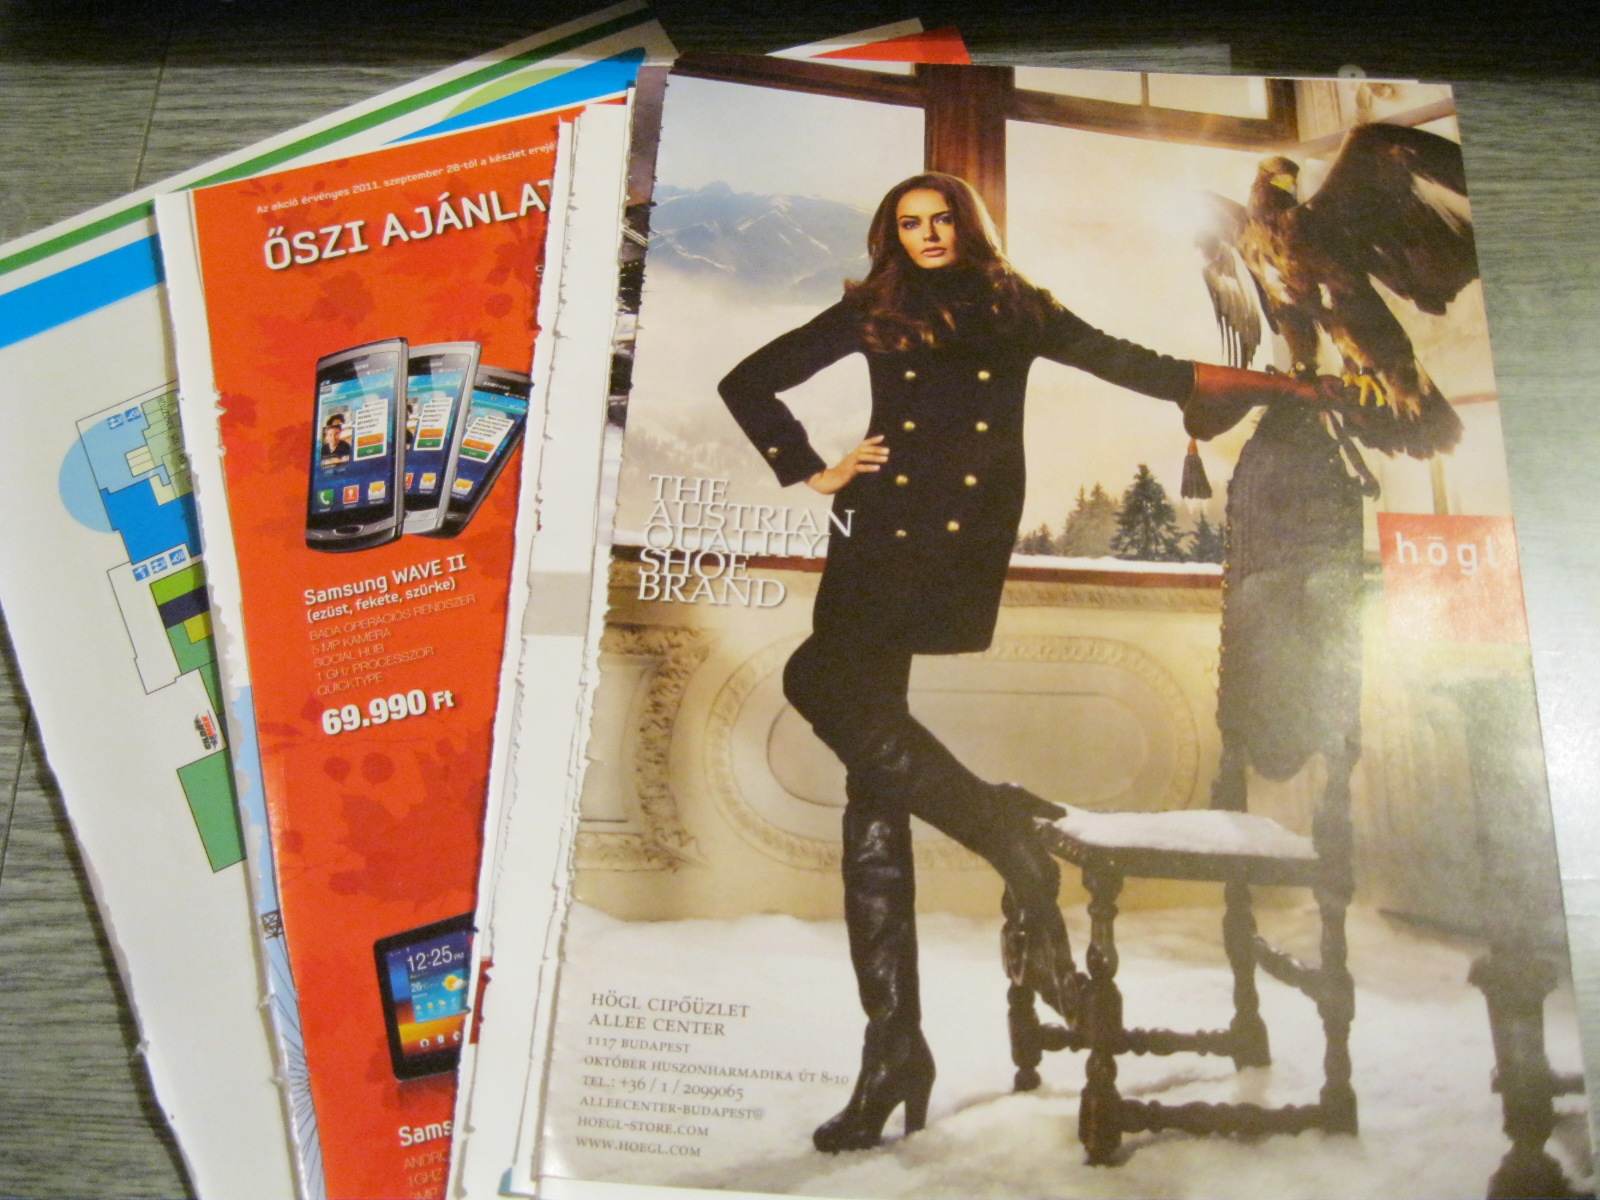
i took some magazine pages.
fogtam pár magazin lapot.
i cut 1 cm wide srtipes out of them.
egy centis csíkokat vágtam belőlük.
now, you can either roll them up like so.
szóval vagy feltekered őket így.
then flaten them.
majd kilapítod őket.
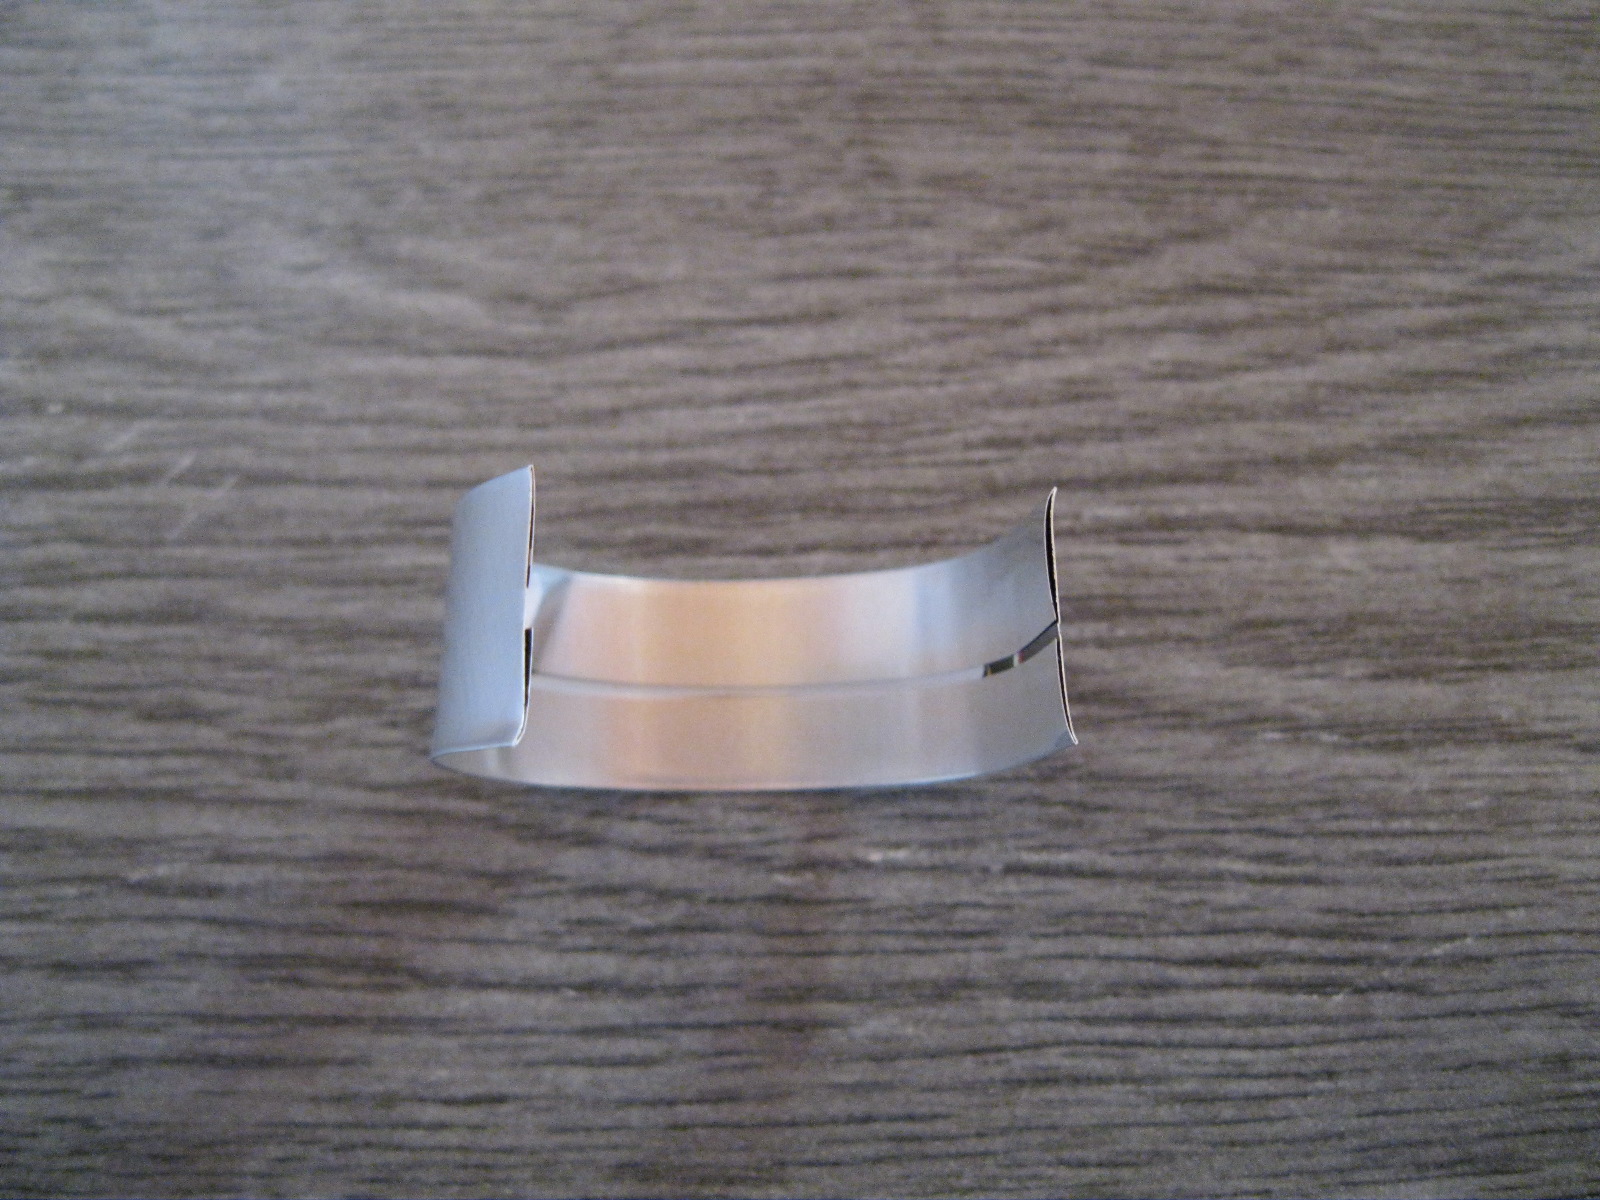
or, you can fold them in half.
vagy félbehajthatod őket.
then fold both sides up to the crease.
majd behajtod mindkét oldalt a hajtásig.
and fold them in half again.
és megint behajtod félbe.
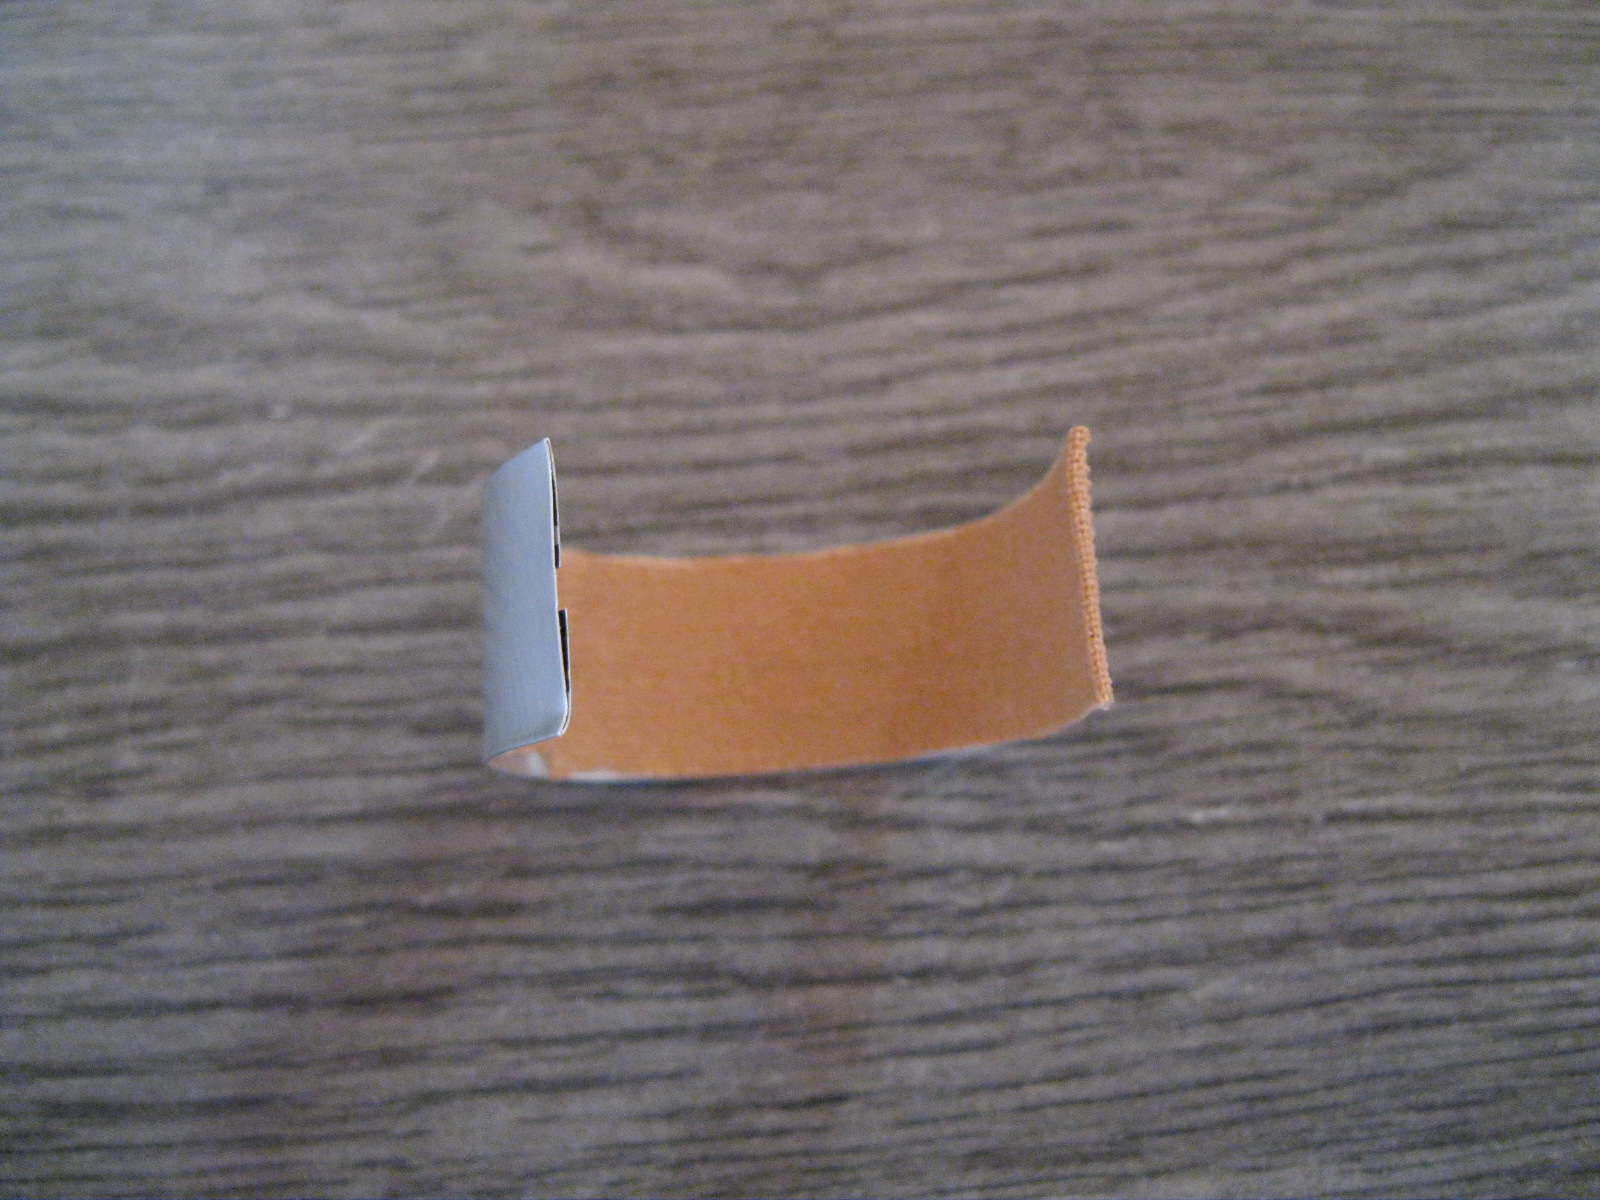
after that you need to roll the pieces up on a toothpick.
azután fel kell tekerni a darabokat egy fogpiszkálóra.
glue the end and you have a bead component. i recomend paper glue here.
beragasztod a végét és van egy gyöngy komponensed. papír ragasztót javaslok ide.
make as much as you need, then put them in shape. now glue them together. don't forget the nice sides should be at front. i recoment hot glue gun here.
készíts annyit amennyi kell és utána rendezd alakzatba. most ragaszd össze őket. ne feledd, a szép oldal kell felül legyen. forró ragasztó pisztolyt javaslok ide.
take your chains or whatever you choose, and glue the ends on the back of one component each. i also hid the glue with a magazine circle.
fogd a láncod vagy akármit amit választottál, és a végeket ragaszd fel egy-egy komponens hátára. én elrejtettem a ragasztást egy magazin körrel.
it's done.
kész is.